FCKeditor是一款功能强大的富文本编辑器,它提供了图片上传功能,方便用户在编辑内容时插入图片。下面是使用FCKeditor上传图片的步骤:
1. 首先,将相关的jar包添加到项目中。这些jar包包括fckeditor-java-core-2.4.jar等。确保这些jar包已正确导入项目。
2. 然后,在classpath根目录(src文件夹下)中添加配置文件fckeditor.properties。在该文件中,配置connector.userActionImpl属性为net.fckeditor.requestcycle.impl.UserActionImpl。
3. 在web.xml中配置一个用于接收上传文件的ConnectorServlet。该Servlet将处理FCKeditor上传的图片文件。
以上是准备工作的步骤。下面将详细介绍如何实现图片上传功能。
首先,在页面中使用FCKeditor生成编辑器实例。可以通过以下代码添加一个文本域以及FCKeditor实例:
```html
// 替换textarea为FCKeditor实例
CKEDITOR.replace('editor1');
```
接下来,需要在服务器端处理上传的图片文件。可以使用ConnectorServlet来处理上传请求。在ConnectorServlet中,需要获取上传的文件并保存到服务器上。具体代码如下:
```java
public class ConnectorServlet extends HttpServlet {
protected void doPost(HttpServletRequest request, HttpServletResponse response) throws ServletException, IOException {
// 获取上传的文件
Part filePart = request.getPart("upload");
String fileName = getFileName(filePart); // 获取文件名
// 保存文件到服务器
String savePath = "path/to/save"; // 设置保存路径
File file = new File(savePath, fileName);
try (InputStream fileContent = filePart.getInputStream()) {
Files.copy(fileContent, file.toPath(), StandardCopyOption.REPLACE_EXISTING);
}
// 返回图片的URL
String imageUrl = "http://example.com/images/" + fileName; // 设置图片的URL
response.getWriter().write("window.parent.CKEDITOR.tools.callFunction(1, '" + imageUrl + "');");
}
private String getFileName(final Part part) {
final String partHeader = part.getHeader("content-disposition");
for (String content : partHeader.split(";")) {
if (content.trim().startsWith("filename")) {
return content.substring(content.indexOf('=') + 1).trim().replace("\"", "");
}
}
return null;
}
}
```
在上述代码中,首先获取上传的文件,然后将文件保存到服务器上指定的路径。最后,通过response返回图片的URL给FCKeditor。
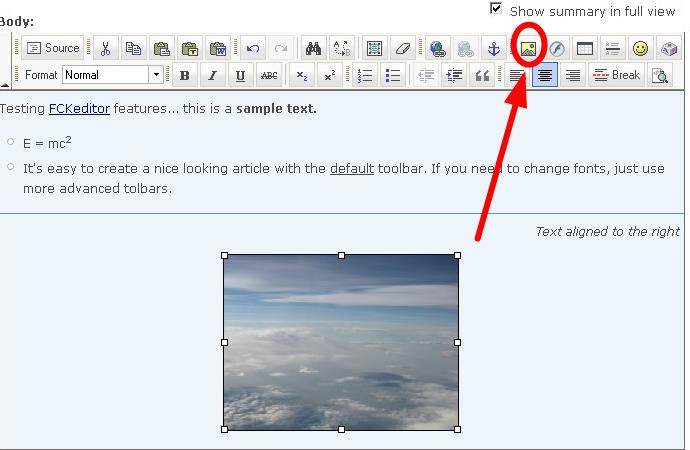
完成以上步骤后,用户就可以使用FCKeditor上传和插入图片了。用户只需点击编辑器中的图片上传按钮,选择要上传的图片,待上传完成后,插入图片到编辑器中。
总之,通过上述步骤,你可以成功实现在FCKeditor中上传图片的功能。这个功能可以让用户更方便地在编辑内容时插入图片,提升用户的编辑体验。
希望以上内容对您有帮助。如果还有其他问题,请随时提问。